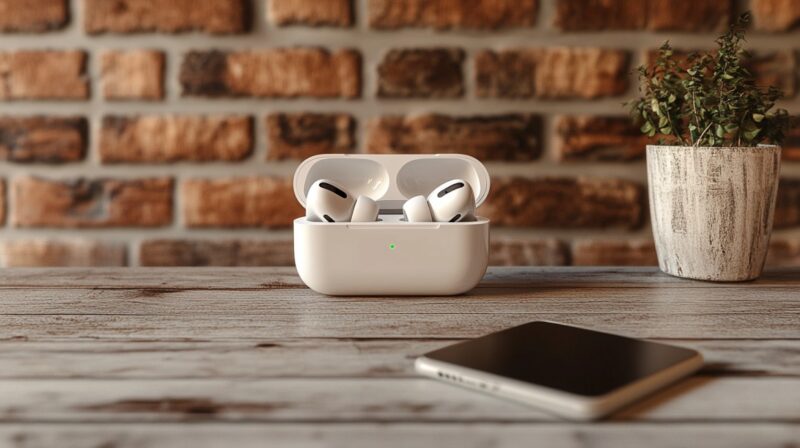
Regular cleaning of AirPods isn’t just about cleanliness—it’s a key factor in keeping them functioning at their best. Accumulated earwax, dust, and grime can muffle audio and disrupt connectivity. With AirPods frequently going in and out of ears and cases, they collect more than just music.
Hygiene plays a big part, too. Anything that spends time in ears should be sanitized regularly to avoid bacterial buildup. Performance and comfort are closely tied to how well-maintained the device is.
Standard AirPods, AirPods Pro, and AirPods Max each require different cleaning approaches. Materials, design elements, and removable parts call for specific care. Using the right technique for the right model ensures a safe and effective clean.
Cleaning AirPods Pro
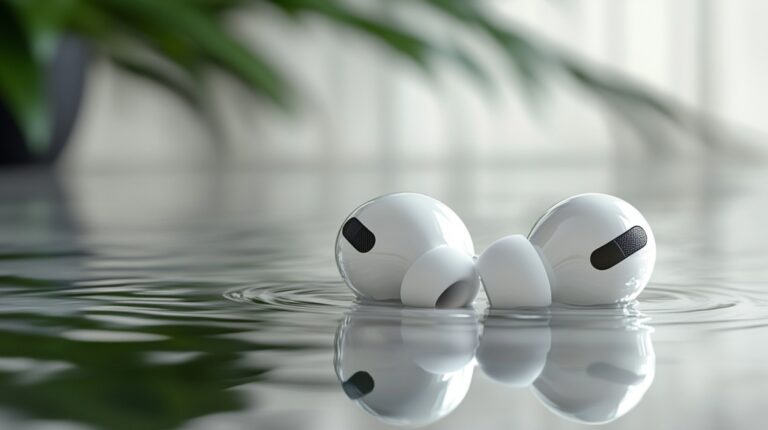
AirPods Pro require extra attention due to their removable ear tips and more compact design. Cleaning both the silicone tips and the main body ensures better sound delivery and comfort.
Begin by removing the silicone tips from each earbud. Soak them in warm water mixed with a drop of mild dish soap. Let them sit for a few minutes to loosen up any accumulated earwax, skin oil, or dirt.
- Gently rub the tips between fingers while submerged in soapy water
- Rinse thoroughly under clean running water
- Place them on a clean, dry cloth and allow to air-dry completely
- Avoid reattaching until they are fully dry
While the tips dry, shift focus to the nozzles on the earbuds. Use a soft-bristled toothbrush to carefully brush the mesh and nozzle area. Work gently to avoid forcing particles into the speaker mesh. Circular, feather-light strokes help dislodge dirt without damaging delicate components.
For light sanitizing, take a cotton swab slightly dampened with isopropyl alcohol (70–90%) and wipe around the hard plastic surfaces. Avoid touching the mesh or entering any openings with liquid. If foam tips are in use instead of silicone, skip the alcohol step entirely.
Adhesive putty offers another method to remove debris from the mesh. Lightly press it against the mesh area, then peel it away to lift particles. Avoid pressing it too hard or leaving residue stuck behind.
- Do not soak or wash with soap
- Avoid alcohol and chemical cleaners
- Replace once they start tearing, cracking, or losing shape
Keeping ear tips and nozzle openings clean helps prevent ear discomfort, muffled sound, and device strain. Clean tips also provide a better seal, which improves active noise cancellation and bass response.
Cleaning AirPods Max

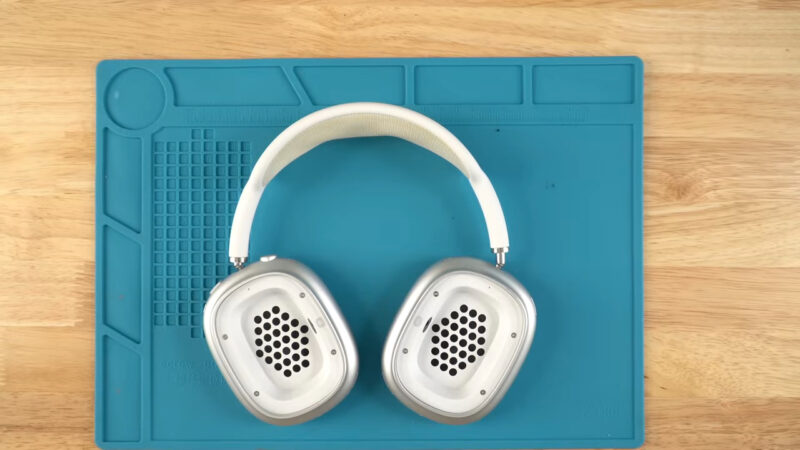
AirPods Max bring different challenges due to their size, fabric materials, and detachable cushions. Proper cleaning not only improves their appearance but also keeps them hygienic after regular use.
Start by using a lint-free cloth slightly dampened with clean water. Gently wipe all exterior surfaces. Focus on the aluminum ear cups and stainless-steel frame, avoiding excess moisture near speaker ports or charging areas.
- Mix a small drop of mild dish soap in a cup of water
- Dip a cloth into the solution and wring it out until just damp
- Wipe affected areas gently
- Follow up with a dry cloth to absorb remaining moisture
Remove the magnetic ear cushions by gently pulling them off. Wash the cushions in warm, soapy water, using fingers to lightly agitate the fabric. Rinse thoroughly to remove soap residue, then lay flat on a towel to air-dry.
- Use warm water and dish soap
- Avoid harsh detergents or fabric softeners
- Let them dry naturally before reattaching
Clean the mesh headband with a damp cloth and a drop of detergent. Gently scrub in one direction only, taking care not to soak the fabric or allow water to drip inside.
What You’ll Need
Preparing to clean AirPods starts with gathering the right tools. Using safe, non-abrasive materials ensures the job gets done without causing damage to the device.
Some tools help remove visible grime, while others sanitize delicate surfaces and reach small crevices. Here’s what to have on hand before beginning the cleaning process.
| Tool | Purpose / Usage | Notes / Tips |
|---|---|---|
| Lint-free cloths | Wipes down the outer shell without leaving fibers or scratches. Microfiber works best; can be used dry or slightly dampened. | Avoid using tissues or paper towels—they may scratch or shed fibers. |
| Cotton swabs | Cleans around the speaker mesh and inside tight spots. Dislodges wax or dust gently without harm. | Do not soak swabs in liquid; only slightly dampen if needed. |
| Soft-bristled toothbrush | Brushes away debris from grills or mesh areas. Soft bristles prevent damage to fragile components. | Use a new toothbrush, not one previously used for dental hygiene. |
| Isopropyl alcohol (70–90%) | Sanitizes surfaces and removes grime. Should be applied only to cleaning tools in small amounts, never directly to the device. | Avoid stronger concentrations—they may damage certain materials. |
| Adhesive putty (Blu-tack) | Lifts debris out of hard-to-reach areas. Gently press and peel to remove dirt without leaving residue or pushing debris deeper. | Do not press too hard into the mesh to avoid clogging or damaging it. |
| Distilled water | Safe for dampening cloths or brushes. Contains no minerals, preventing deposits on surfaces. | Always use distilled, not tap water, to avoid leaving spots or residue. |
| Dish soap | Mixed with water to clean silicone ear tips and other removable parts. A small amount cleans thoroughly without leaving a film. | Rinse thoroughly after cleaning to remove all soap traces. |
- Known to damage plastics and cause irritation to the skin, it is far too harsh for electronic components.
- May break down rubber and other materials over time. Long-term exposure can weaken or discolor components.
- Sharp objects such as paper clips or toothpicks can puncture speaker mesh, scratch surfaces, or damage internal parts.
Using the right supplies increases the chances of a successful cleaning without any unintended damage.
Cleaning Standard AirPods (1st, 2nd, 3rd Gen)

Maintaining standard AirPods involves a gentle and methodical process. Each component is sensitive to moisture and pressure, so care is essential when cleaning.
Start by grabbing a dry, lint-free cloth. Gently wipe the entire outer surface of each earbud. Focus attention on removing earwax, skin oils, and fingerprints. Avoid pushing any residue toward the speaker mesh or microphone holes. Moisture should never be applied at this stage.
Next, take a dry cotton swab and target smaller openings. The speaker mesh, microphone port, and other nooks near the base often gather dust or wax. Use slow, light movements without pressing inward.
For a deeper clean, gather a few extra tools. In these steps, a few optional bullet points will outline what’s needed and how to proceed:
- Soft-bristled toothbrush
- Distilled water or micellar water (use in moderation)
- Additional cotton swabs or dry cloths
Lightly dampen the toothbrush with a small amount of distilled or micellar water. Carefully brush around the mesh area in circular motions. Avoid over-saturating the bristles, as liquid can enter the mesh and cause damage. Always keep the AirPods pointed downward so excess liquid cannot drip inside.
- Use a separate, dry cloth to absorb surface moisture immediately
- Leave AirPods on a clean towel or dry cloth in a well-ventilated area
- Wait at least 30 minutes before placing them in the case or using them again
Submerging AirPods or letting liquid sit on their surface can cause irreversible internal damage. Avoid any cleaning method that floods the mesh or housing. Patience during drying is more effective than trying to speed things up with heat or air blowers.
- Maintains clear sound quality
- Prevents debris buildup in mesh and speaker
- Reduces risk of skin irritation or ear infections
- Increases long-term reliability and use
Attention to small details can make a noticeable difference in performance and hygiene. Spending just a few minutes cleaning each week will go a long way in keeping standard AirPods in top shape.
The Bottom Line
Clean AirPods deliver clearer sound, feel better in your ears, and last longer. Sweat, dust, and wax don’t just disappear—they build up fast.
A few minutes of care each week can prevent major problems down the line. No need for harsh chemicals or fancy gadgets. Just gentle tools and a bit of attention.
When in doubt or if cleaning feels risky, Apple’s official instructions are always available for reference. Better safe than replacing expensive gear.

